So in my last post I said I was happy with the fit of the size 24 out of the packet. Well, this quickly changed. The 24 was very gapey on the neckline – about 6″ could have been pinched out – and due to the style, I couldn’t see a way to fix it without redoing it. The more I looked at photos of Hannah dresses, the more I realised it wasn’t meant to be baggy and gapey in the bodice. So I did some research and concluded that I needed a size 20 bodice to fit my high bust, with adjustments.
I knew if I did a size 20 I’d have to do an FBA. The difference between my full bust and high bust was 4″, so the guides I read suggested a 2″ adjustment. On top of this, I knew I had a broad back and would need to adjust for that, as the fit of the 24 bodice at the back was about right – no pulling. That meant I did a 4cm BBA (yes, I mix imperial and metric as needed!). I have a very broad back…! That led me to this toile of a size 20 bodice with 2″ FBA and 4cm BBA.
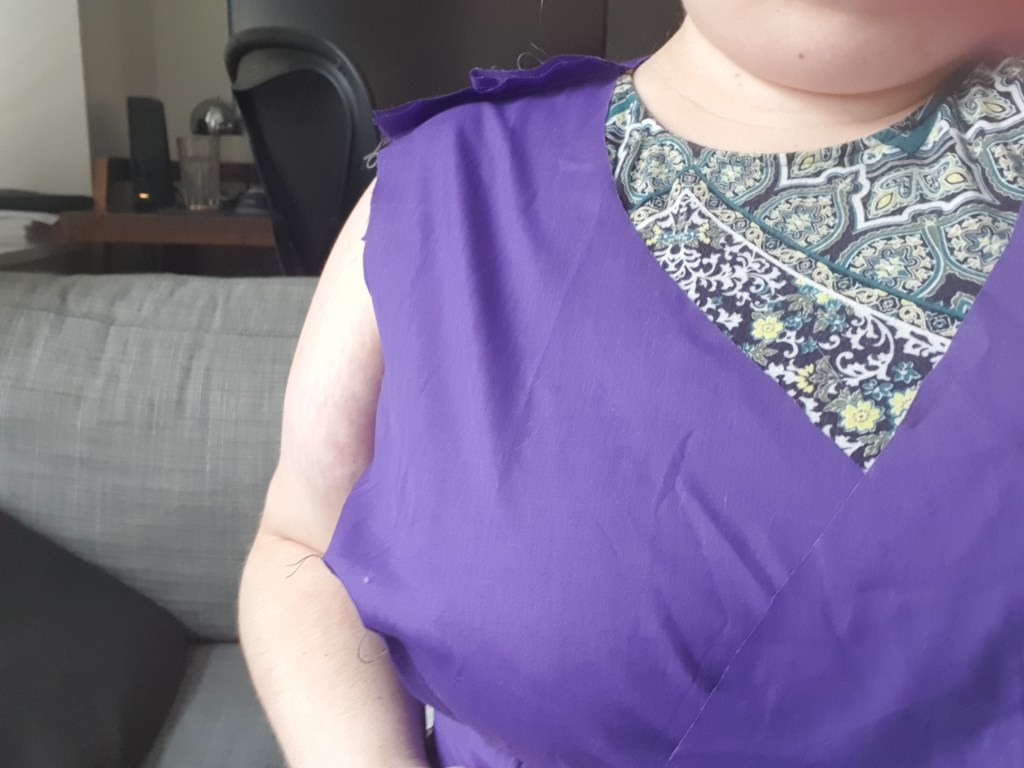
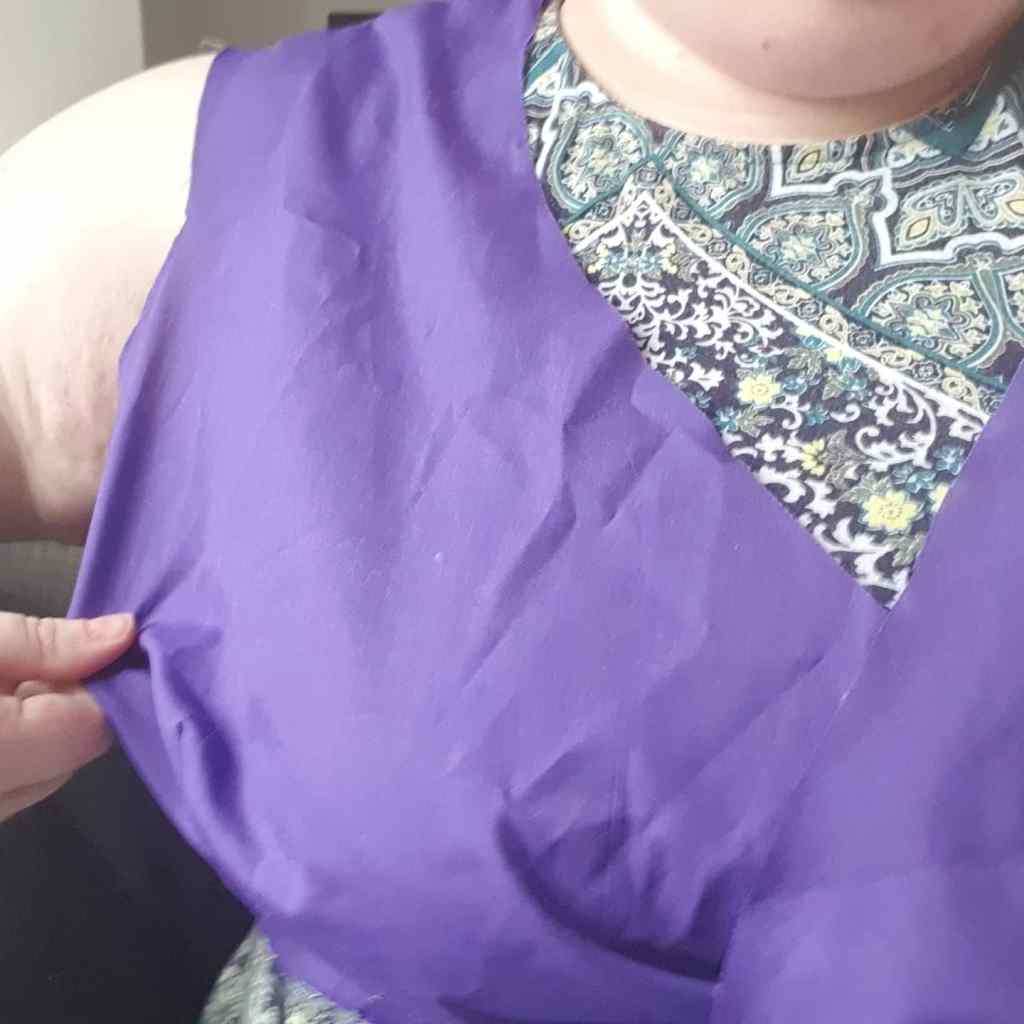
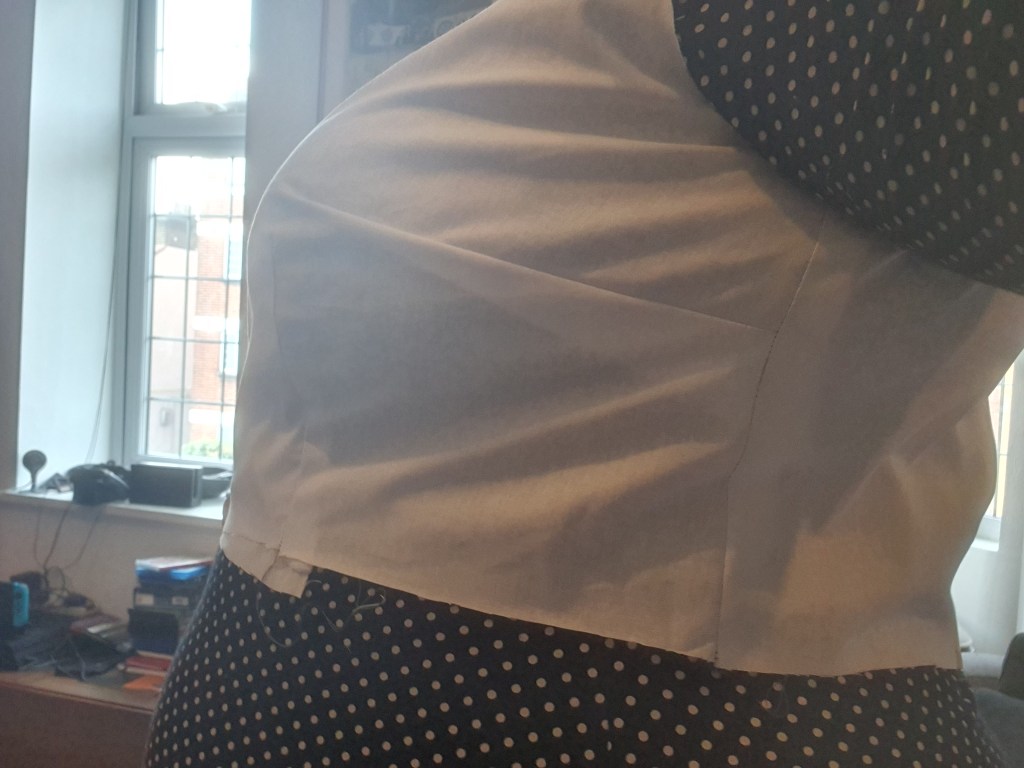
This fixed the neckline gape but left a sizeable pocket of excess fabric at the side of my bust. I asked around for help, as I had no idea what adjustment was necessary as I was a beginner, and got mixed responses (including a bigger FBA). Fortunately, I’m in an online sewing club run by the fantastic The Thrifty Stitcher and she identified that my FBA was actually too big and that I also needed a narrow shoulder adjustment, as the shoulders were too wide. So I reduced the FBA to 1″ and did a 1.5cm NSA.


This reduces the pocket of fabric, but it was still there. At this point I could see the darts needed moving, as my apex was way different to the drafted apex, but I had a feeling I needed to remove a little more from the FBA. So on a hunch, I went down to a .75″ FBA and moved the darts by marking my actual apex on the pattern and then adjusting the darts to align with that. I also worked out that my side seams weren’t lining up as I had graded the front bodice pieces 2 sizes, but hadn’t graded the back bodice piece 2 sizes.
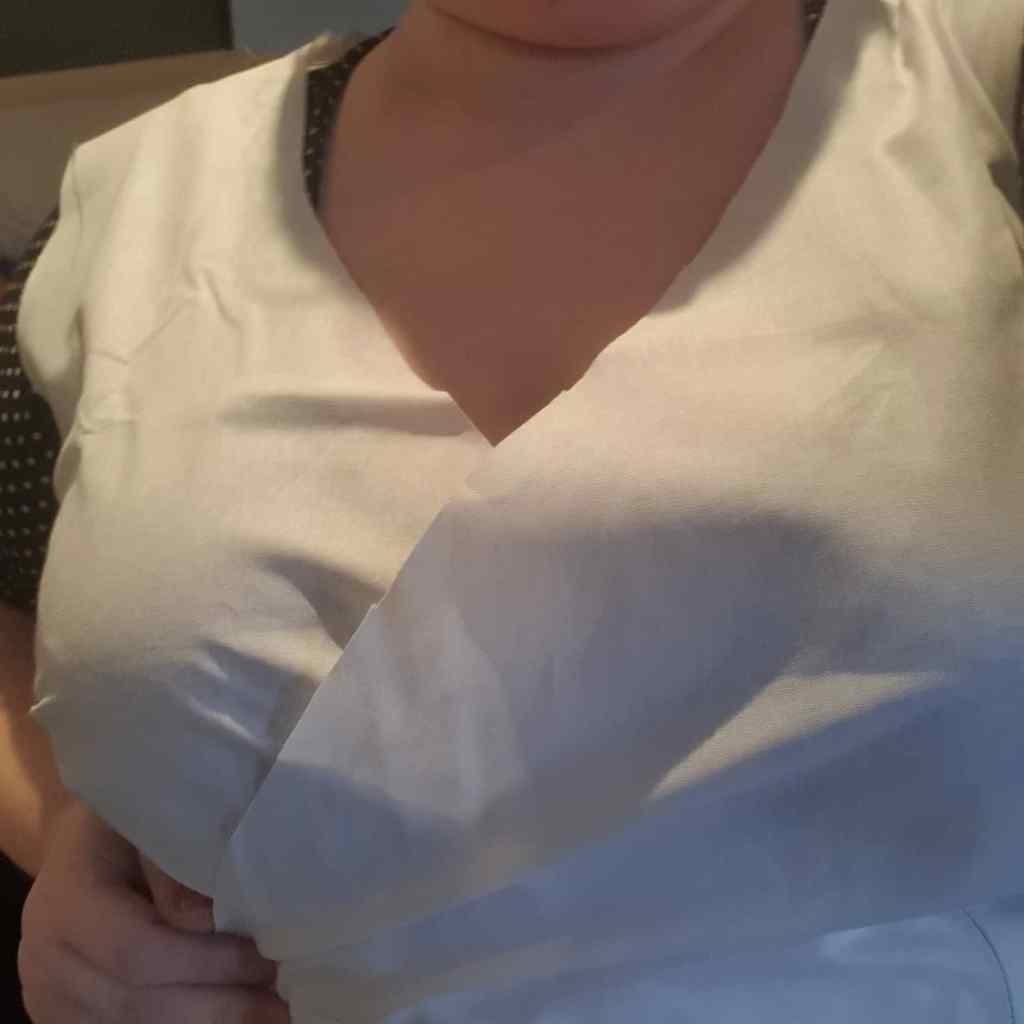
This was my fourth bodice (dress + 3 toiles) and I was pretty happy with this. The pocket of excess was gone, the moving of the darts had helped the shape considerably, and I was happy that this was the right fit for the Hannah – not extremely fitted (though I’m pulling it taut in the photos, which is creating the pulling) but not loose or baggy. I also added 1″ to the bodice length, to account for the fullness of my bust, as the small FBA hadn’t added much to it.
And here is my finished Hannah:
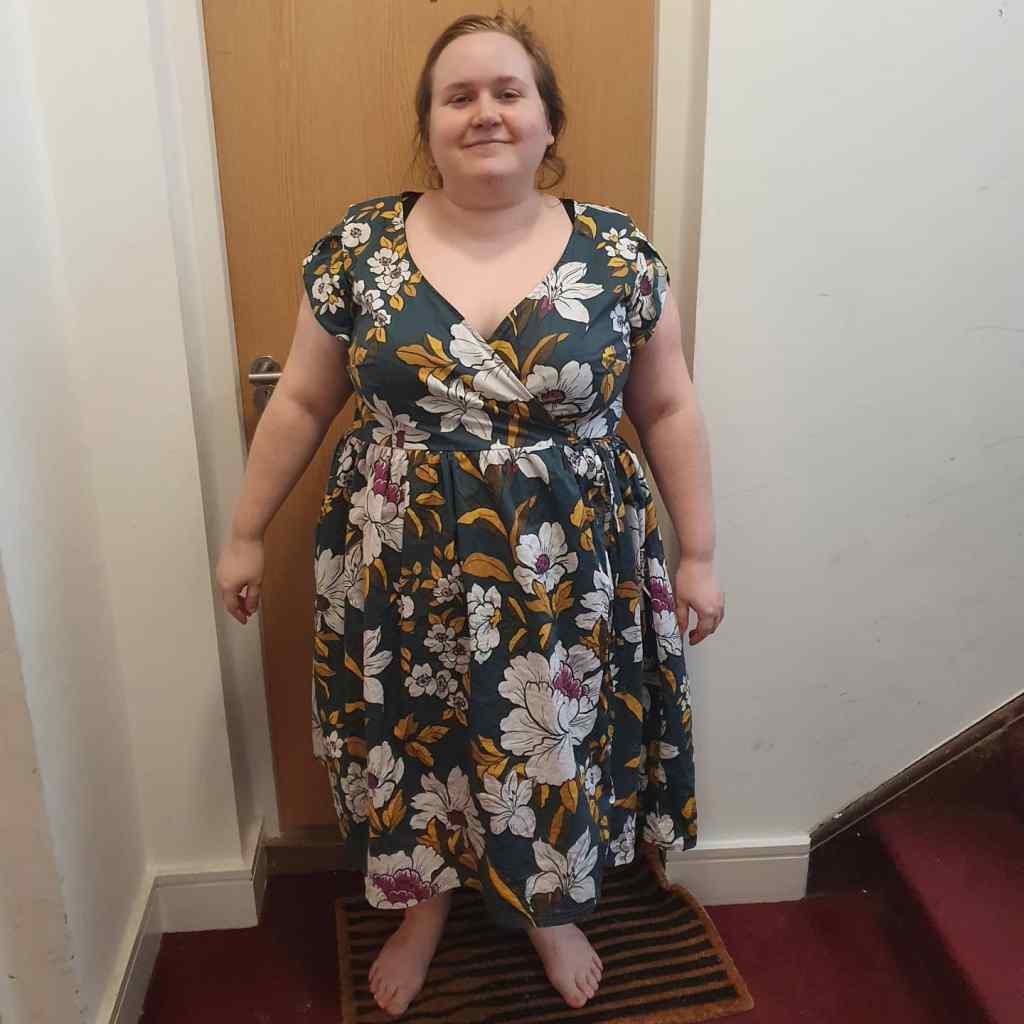

The fit is MUCH better than the straight 24. I actually took side by side comparison photos before I cut into my size 24 to salvage the skirt and reattach it to the size 20 bodice. You can see the difference – below is the size 24.
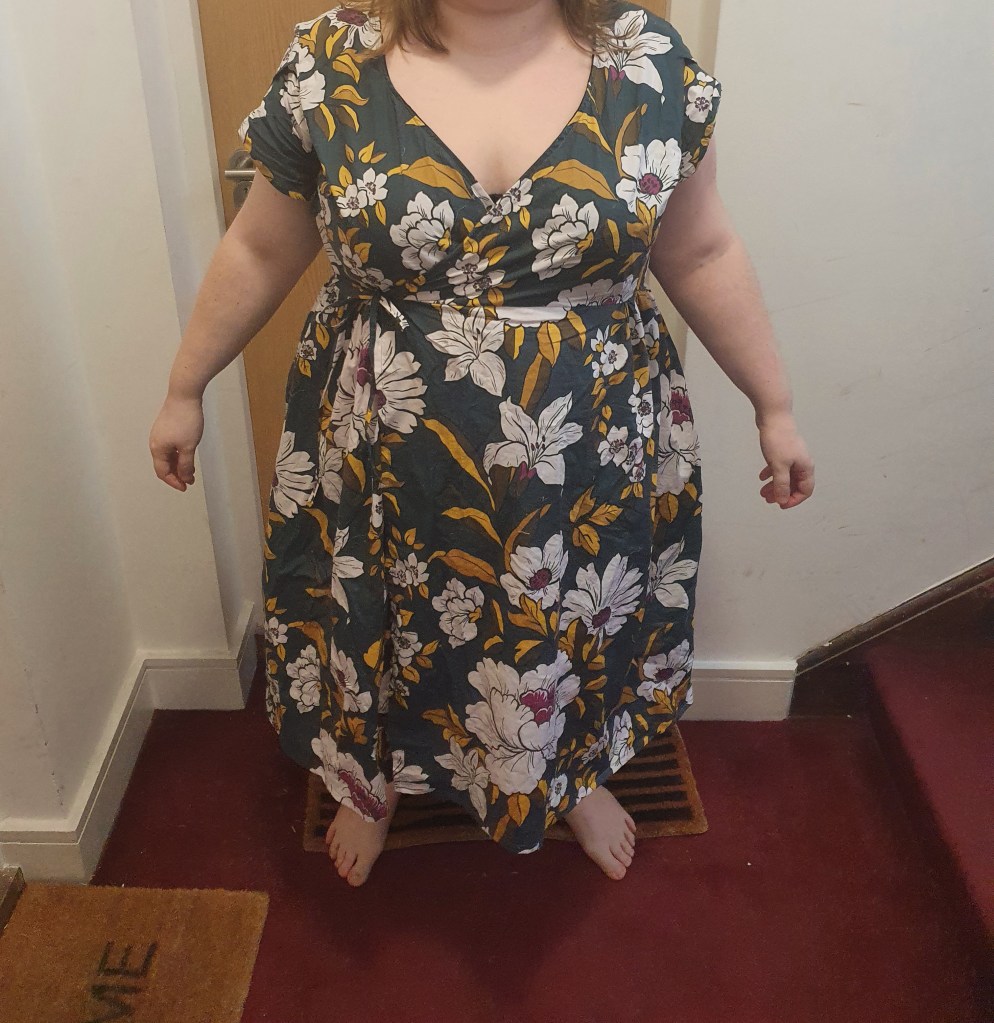
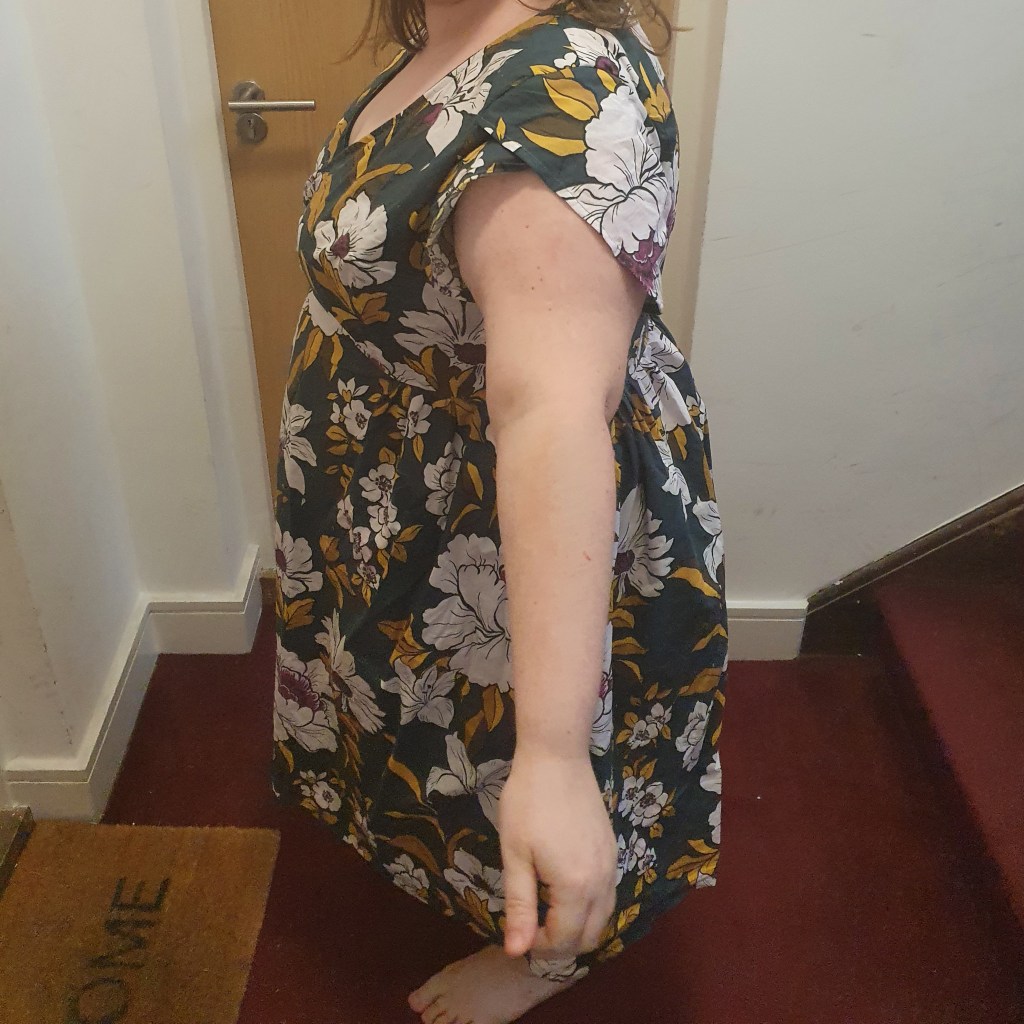
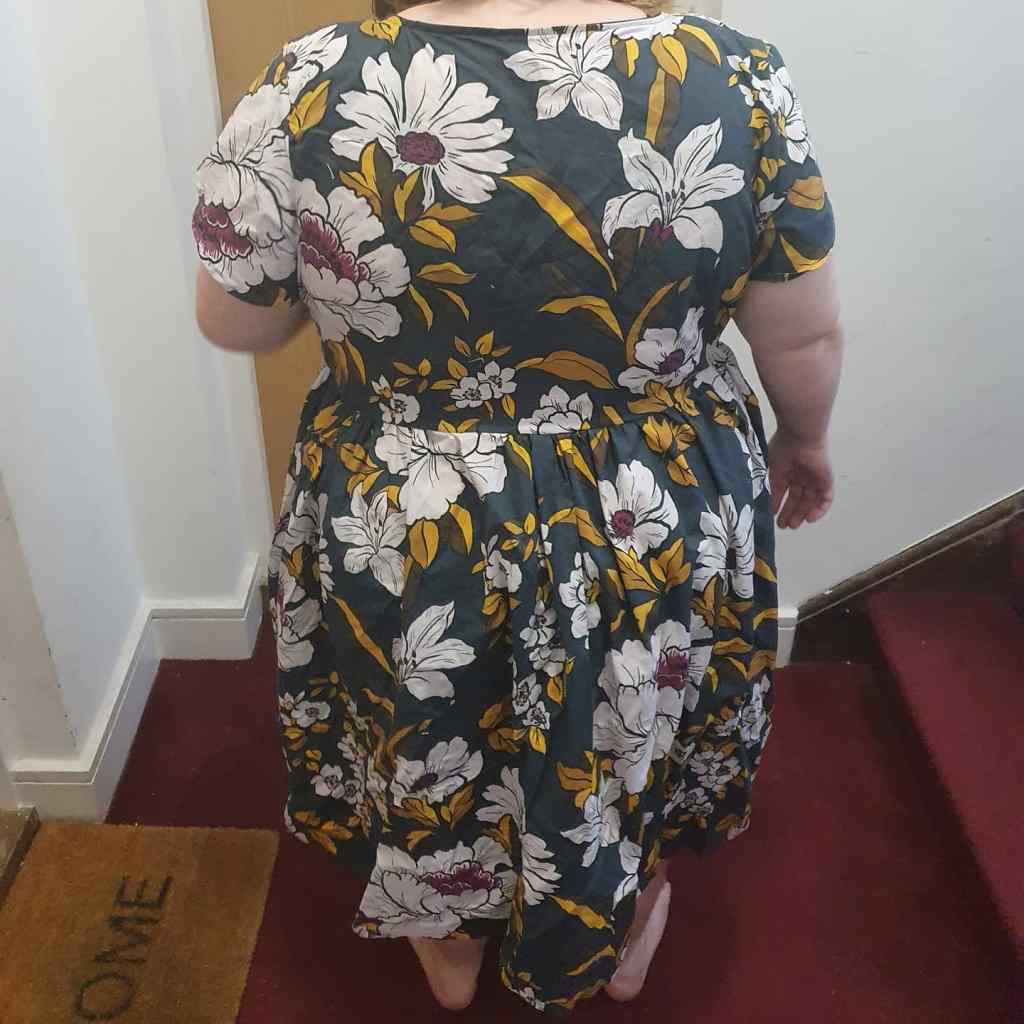
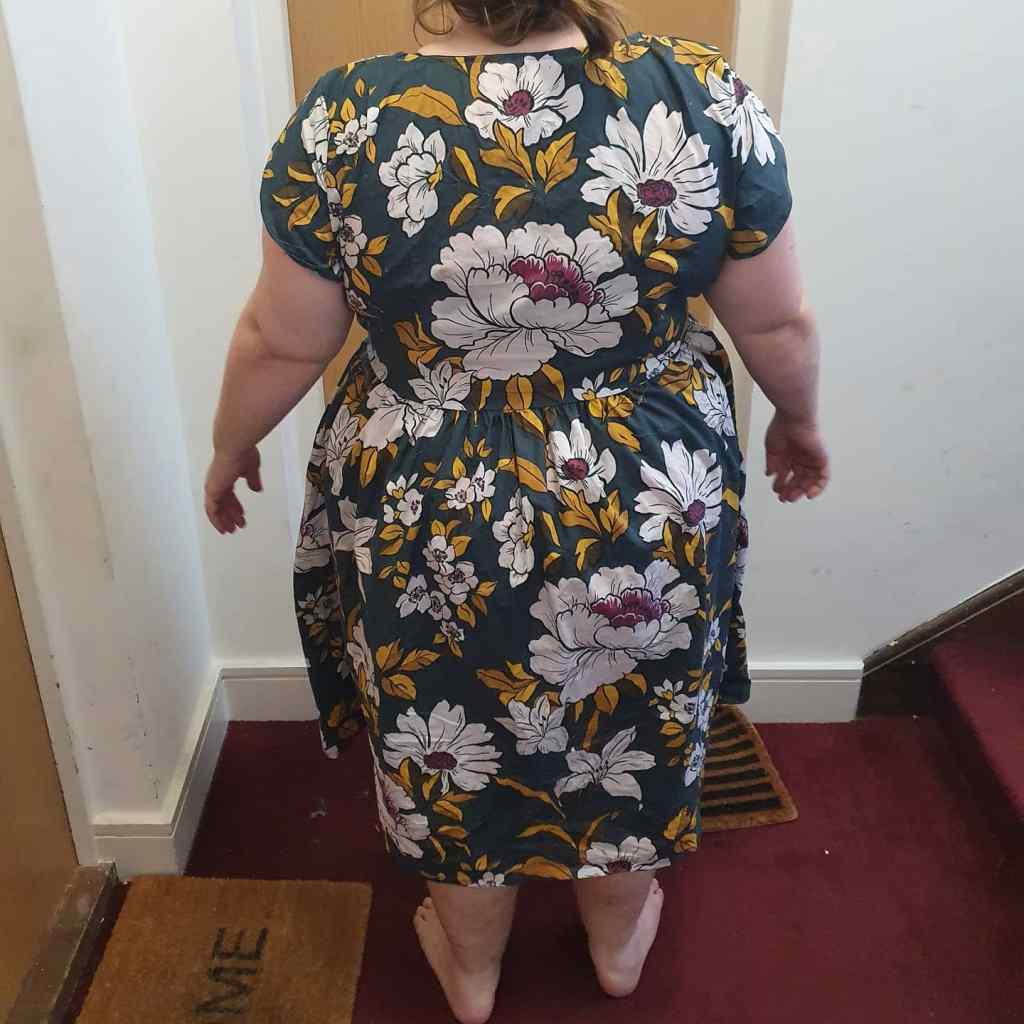
You can see the bodice was too oversized, as were the sleeves. I’d also got the rouleau ties the wrong way round, so my front underlap was actually overlapping instead – when I replaced the bodice I took the time to fix this and I’m much happier with it. I also kept an eye on print placement, choosing to put the large flower in the center back and ensuring the print didn’t dominate the front bodice pieces or sleeves.
Final thoughts: I’m sure an experienced sewist could find more adjustments to make, but as a beginner to fitting I’m really happy with this. I’ll definitely make up the pattern again as I love the shape of the dress, and I even have my next fabric in mind…! I’d give this a solid 8/10 – as before, some of the instructions weren’t as full as I would have liked as a total beginner, but I love the dress and once I figured the tricky aspects out it was a relatively easy sew.

One thought on “BHL Hannah, part deux”