BHL Hannah wrap dress

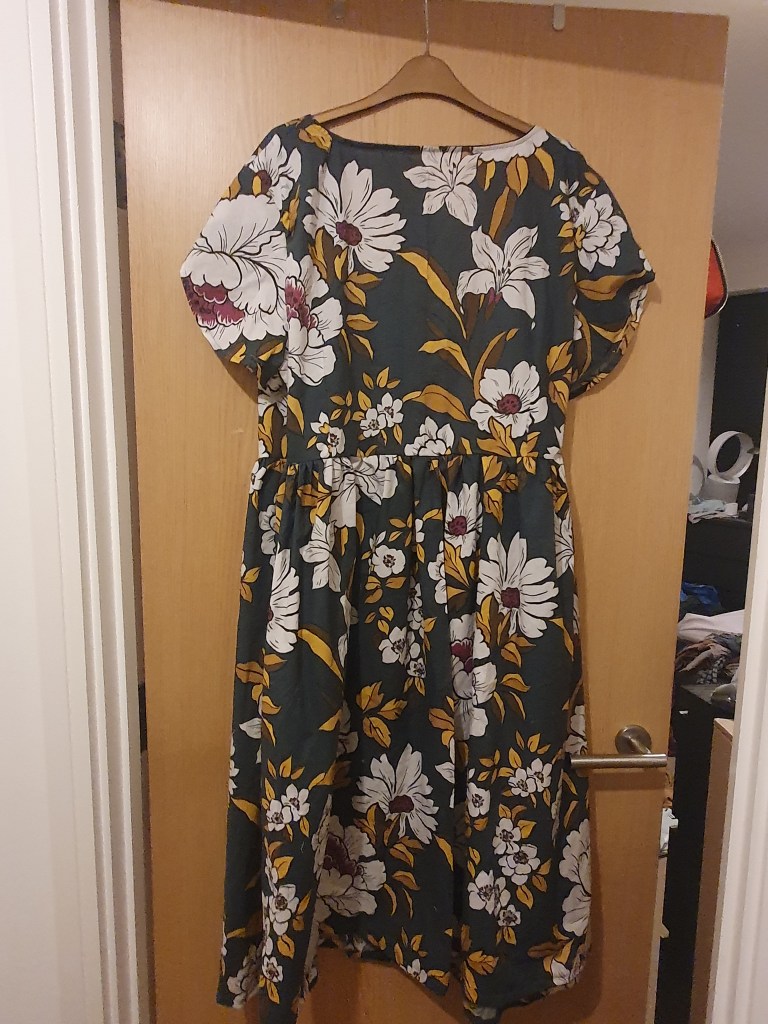
This was a project I’d had in mind for a while. I bought the fabric months ago, at the beginning of my journey, and knew I wanted to make a dress out of it. As I had virtually no patterns then, I scoured various indie designers to start building a collection, and I found the BHL Hannah wrap dress. Immediately I knew this would be the perfect partner for the fabric.

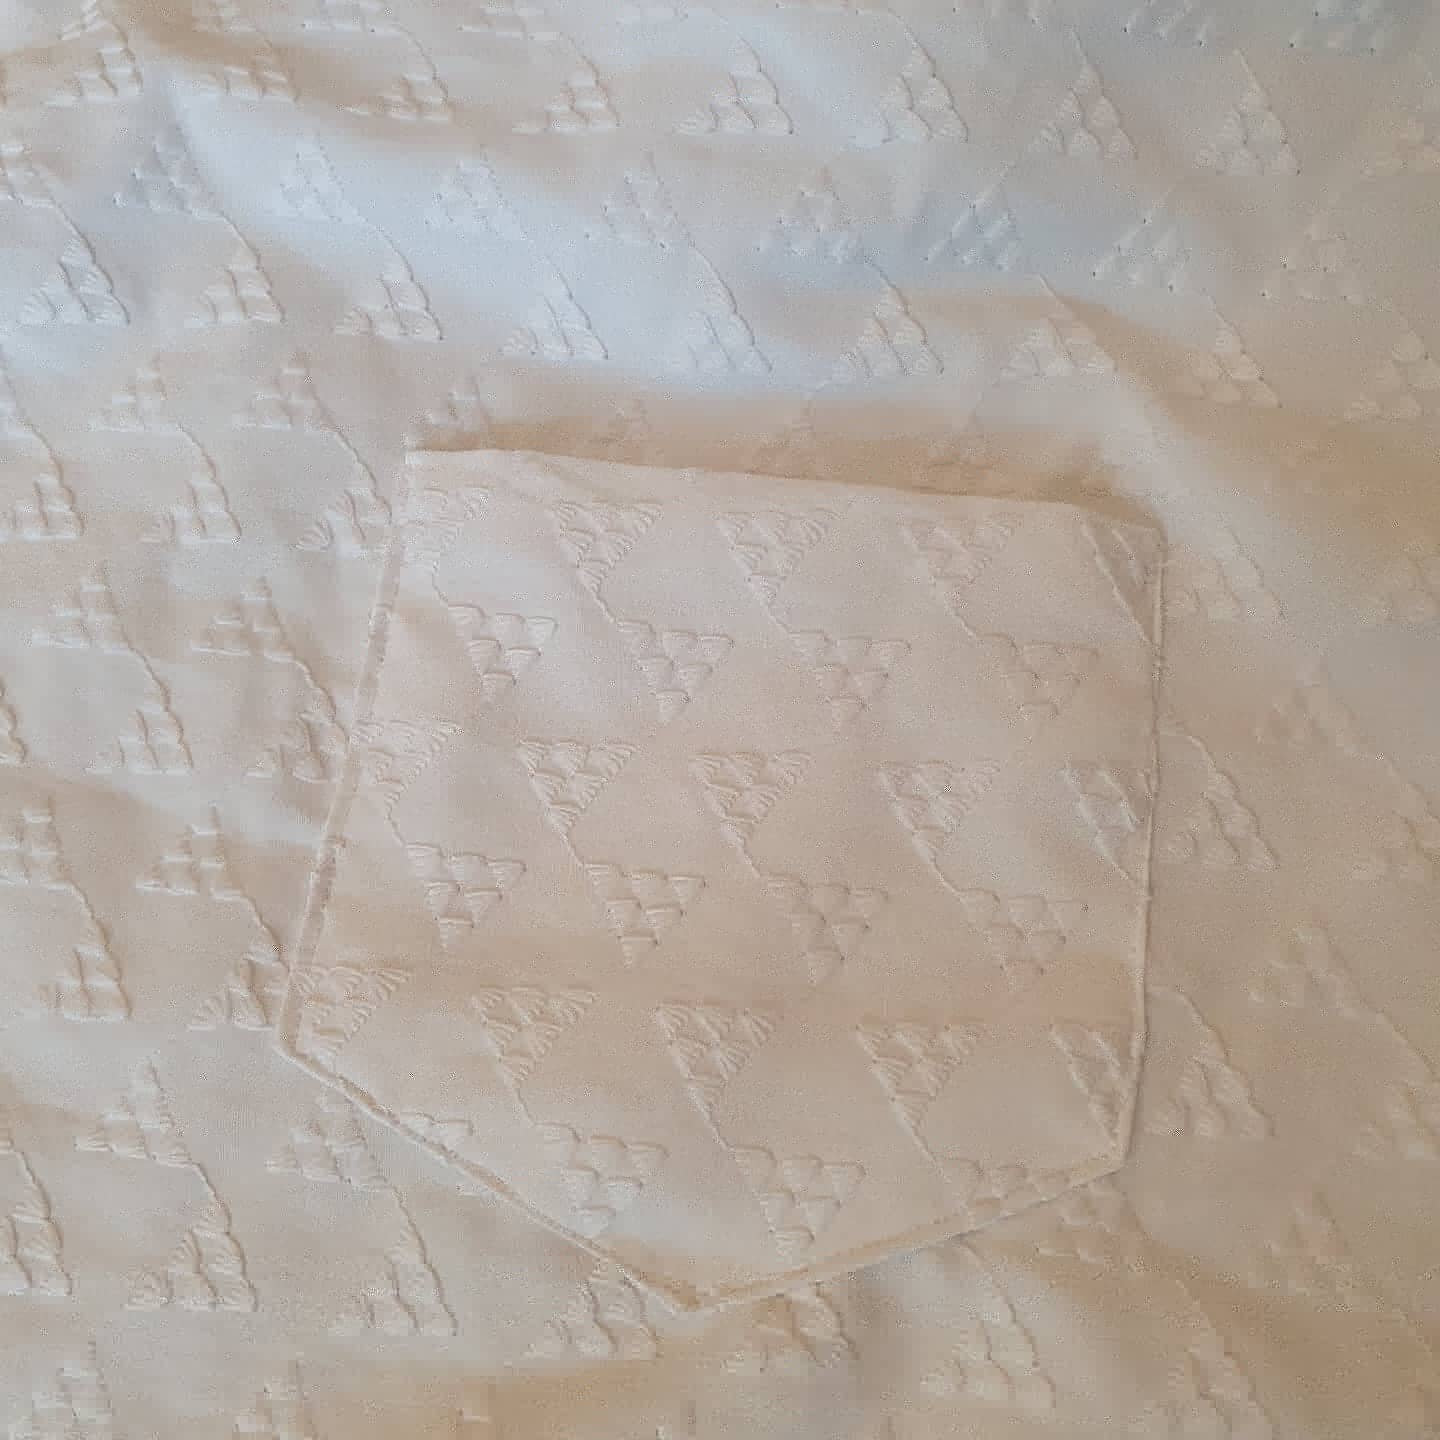
The fabric in question is Lady McElroy Coleman Bouquet in gold. It was used in the first episode of s6 of The Great British Sewing Bee, and I fell in love with it after seeing it on there. It has everything I like – a stylised floral, large print and bright colours. It’s also got my three favourite colours: grey, purple and a gold yellow.

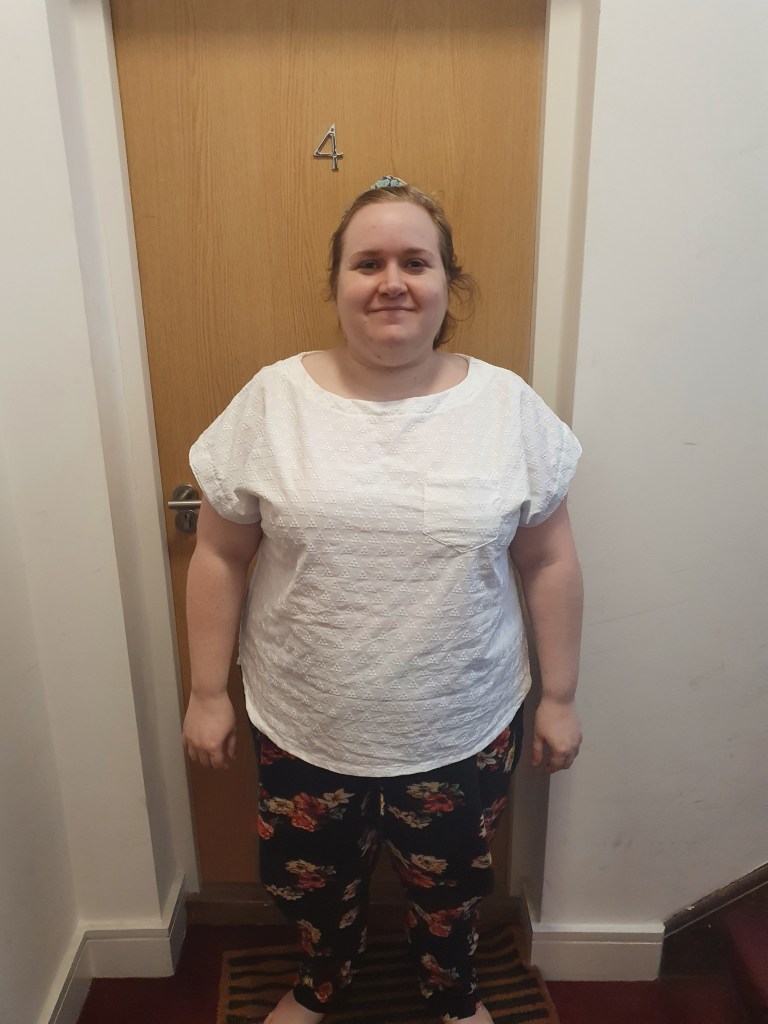
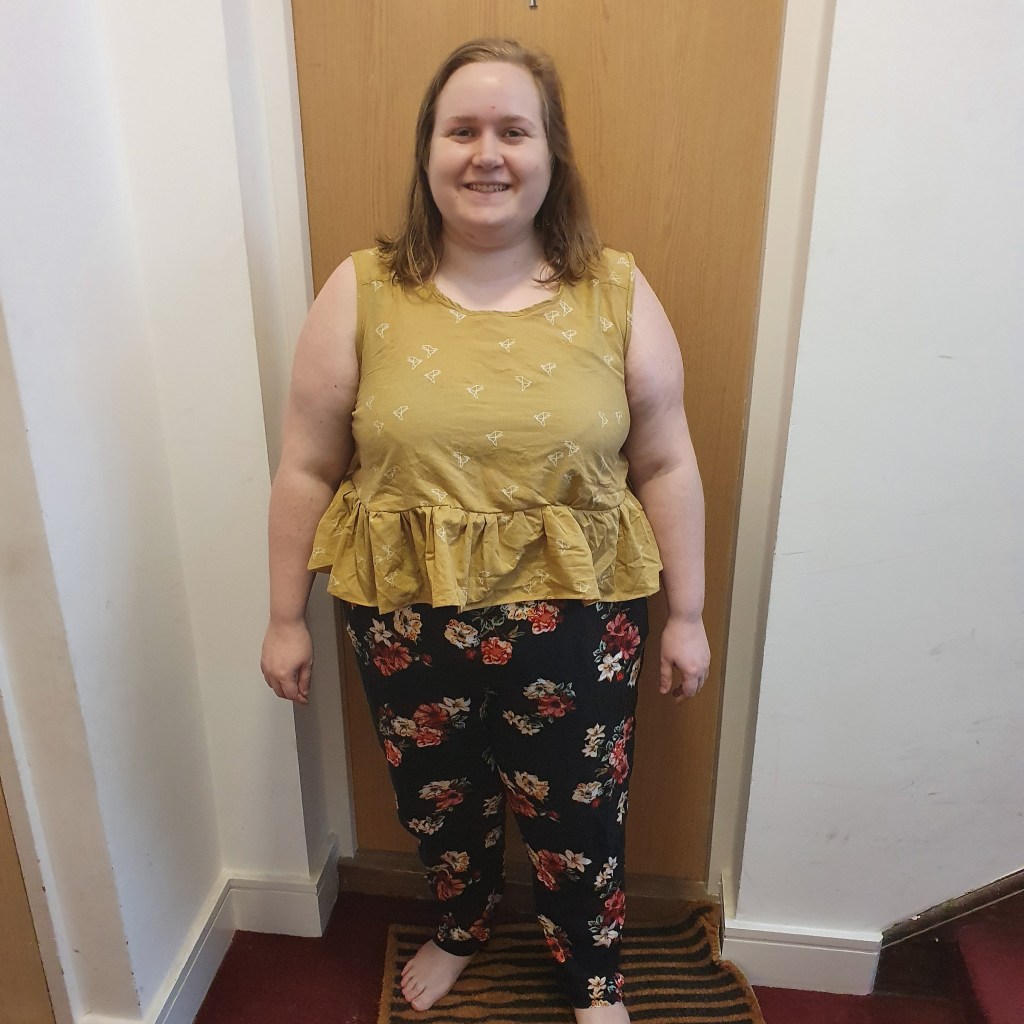
I’ve sat on this project for ages – I probably had the pattern pieces cut out 6 or 8 weeks ago, and I cut into the fabric maybe 7-10 days ago. It was a daunting project for me because I’d not finished a dress before (my half-finished Nullarbor is testament to that!), I’ve not successfully tackled darts yet, not sewn in-seam pockets before, and I’ve only set in sleeves once. I was quite comfortable in the realm of sewing tops – my sewing space is very small and working with bigger pieces of fabric is a challenge, and the skirt for this is quite a lot of fabric! Over the weekend I decided to take the plunge as it was already cut out, and I didn’t fancy sewing up my other cut-out projects (a Christine Haynes Rumi maxi dress and a Papercut Patterns Pinnacle top, both knit). I’ve really enjoyed sewing with wovens lately and they’re fab for the current hot weather. And here it is:

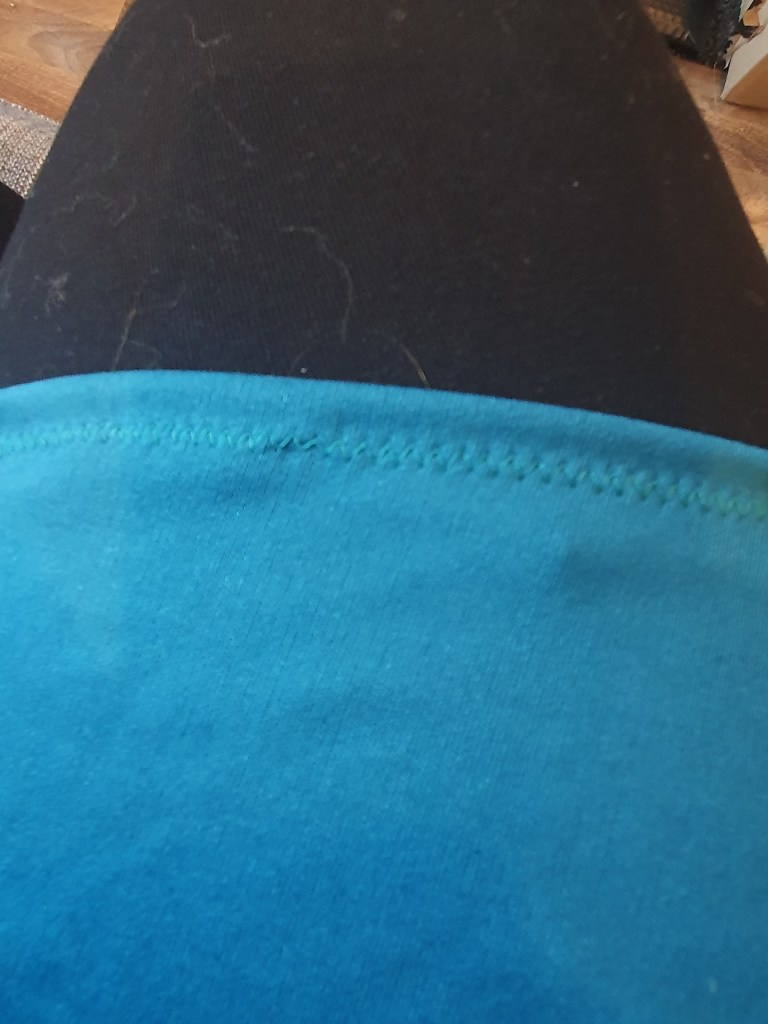
If I’m honest, the pattern instructions weren’t as full or accessible as other brands that I’ve used so far – I found myself querying some of the instructions because I didn’t fully understand what was meant. It’s described as a beginner-friendly pattern, but as a beginner I found I needed to find various tutorials to help (e.g. setting in the side-seam pockets), which I found through googling when I was scratching my head a bit. I’m sure if I had more experience with some of the techniques and language that it would have been a breeze. As it was, I managed to make a few errors – sewing up my pocket bags too early, attaching a rouleau to the wrong side of the seam, setting in two of the same sleeve etc (as I didn’t understand to simply reverse the overlap for the tulip sleeve). I started out french seaming the bodice as that’s my preferred finish, but wasn’t confident enough to tweak the skirt instructions to end up with a french seam.

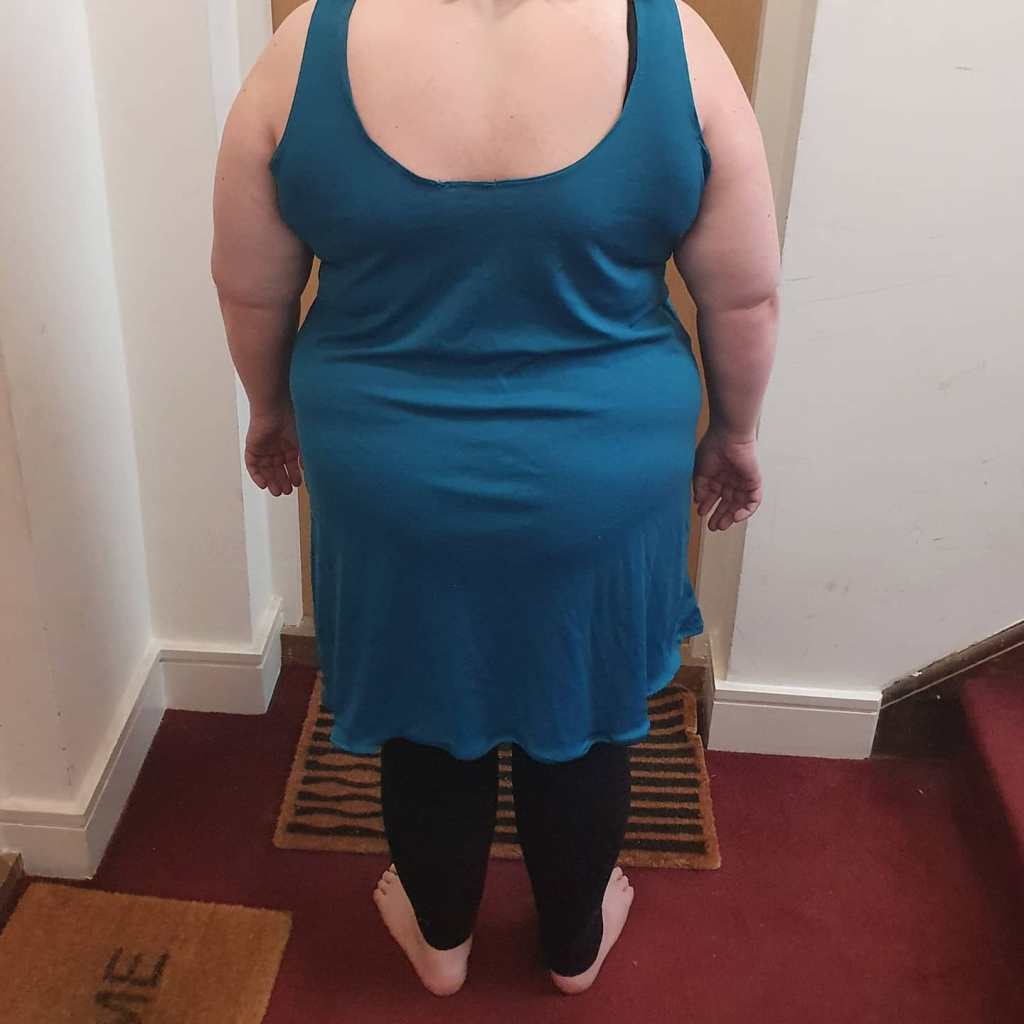
I’m really pleased with the finished piece – it’s not perfect (for one thing, the print is upside down on the sleeves, although it’s not too noticeable) and I really do need an adjustment to raise the neckline as it’s a bit indecent on me. I didn’t toile it – I’m not the biggest fan of making toiles because it is quite time consuming, especially as a beginner, and I worked on the basis that it fit my measurements and that it couldn’t be worse fit than an RTW garment. I’m sure I’ll start toiling further down the line when I am confident enough to tackle fit issues, but right now I’m still learning construction. It will also look great with a cami underneath, so it isn’t the end of the world.

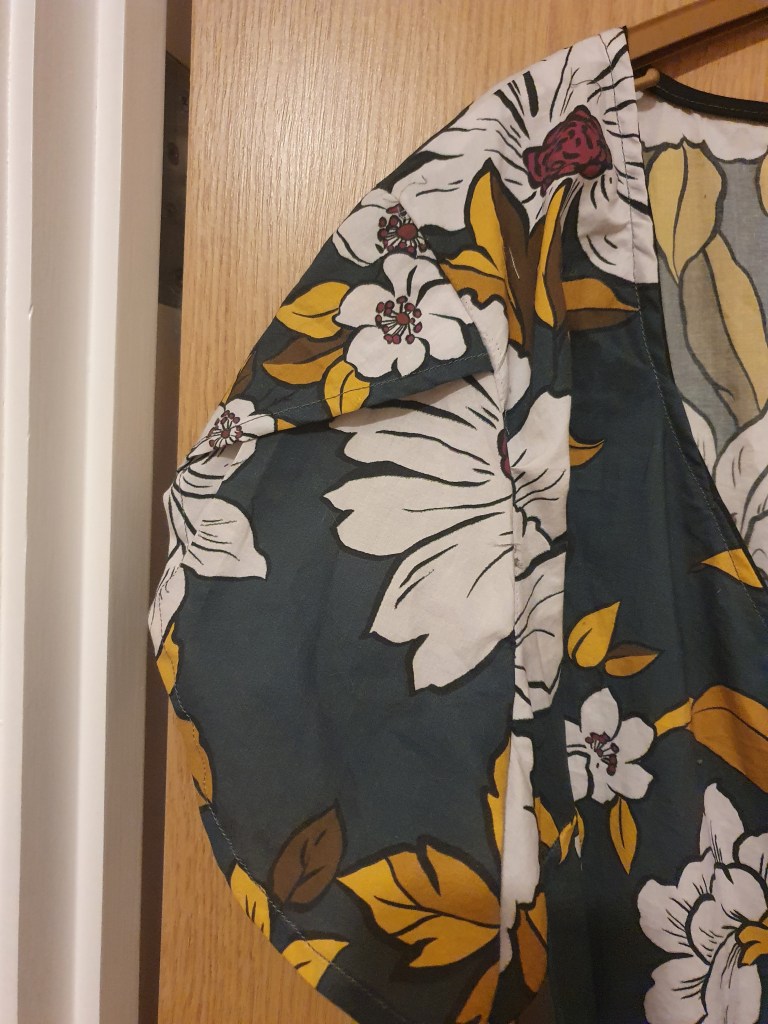
I love the tulip sleeves and definitely think I’ll be hacking that into future patterns – it is such a nice detail! I had a tough time with these but they’re worth it – I initially sewed in 2 of the same sleeve as I didn’t realise I needed to flip the overlap. So I had quite the fun morning unpicking straight stitch and overlocked edges. I’m still not sure they’re quite right – I think I cut two of the same sleeve, so I think the overlap isn’t quite at the right point, but I’m not totally sure (and can’t face unpicking again right now!). If it is wrong, I’m not sure it is that noticeable (although I try not to think like that as I’d rather make nice pieces!).

Overall: learned a lot, love the finished product and I’ll try sewing up more BHL patterns to see how I feel about the instructions.

Adventures with Ogdens

I’ve always liked the True Bias Ogden cami but I’m out of their size range. I saw a YouTube video by Penguin and Pear Dressmaking on grading up the Ogden, so I decided to give it a whirl on my Liberty Atlas tana lawn scraps, using the bias binding method by Sew North as I didn’t have enough fabric for the facing. And here is my first effort:

What you can’t tell from this view is that I couldn’t squeeze a full back piece out of the scraps, so had to cut 2 halves and piece together. Unfortunately I was an idiot and cut two of the same half, so had to squeeze a THIRD half out of what was left, which puts the pattern at an angle!

After making it I realised that the straps were far too long, and the back would get pulled down and the front would rise up. Shortening the straps helped a lot with that, but I suspect that I may also need to grade up a bit more. Other than that, I was relatively happy with the fit and it is a cute little cami that I will definitely get some wear out of.

The bias binding method is relatively straightforward – I made a few mistakes but I’m very much a beginner.

2 days after finishing Ogden #1, I decided to cut into the fabric I’d earmarked for my first “proper” Ogden, I.e. sewn as intended and not pieced out of scraps.

Et voila! I love it – the facing really helps it to sit nicely, the print works brilliantly with the pattern, and it is classic. Unfortunately with the facing it is a little too tight on me – I cut the same size as my bias bound one, but the facing must have reduced the amount of give in the fabric. I’ll just have to lose a bit of weight!

Following the proper pattern instructions was really straightforward – it is a nice easy pattern. I’ve made a cami before (hello to the Nullaboor dress sitting on my sewing table waiting to be finished) so it was nice and familiar and I could concentrate on finish.

Conclusion: the Ogden is a lovely pattern and I’m sure I’ll be making more!

Marilla Walker Maya top in Liberty Atlas tana lawn

So I made another Maya – in part because I hadn’t done the pattern quite right with my first attempt, and also because this fabric really wanted a boxy tee – I had it in mind as soon as I saw it.

Close up of the neckline to show print

It is a frankly bonkers print! It is very busy and quite small, so from a distance it is hard to tell the features like buildings, animals, symbols etc. It’s also a really interesting colourway because it has purple, rust and blue bits running through the darker background.

Photo of it as a WiP

I sewed this up over a couple of days because I’ve been quite unwell, although it really is an easy sew and could be done in an hour or two. The pattern is really straightforward and is written to include French seams, which I love – I really like including French seams for a nice neat finish on garments. Truthfully I prefer that finish to an overlocked seam – there is something really nice about everything being encased. Next thing I’d like to try is Hong Kong seams, which also achieve a lovely finish.

Finished top

And the finished top! I managed to nail the bits I’d struggled with last time – e.g. catching the armhole facing in the French seams and the proper neckline etc. Sewing with tana lawn was interesting – it’s much thinner than anything I’ve sewn with so far, and it had a tendency to move. I got this fabric on sale for £10 p/m, which is a relative bargain for Liberty tana lawn, so this was a test run before I crack on with other Liberty tana lawn. Out of the 2m I managed to make this and a scrappy True Bias Ogden cami (adding an extra seam as I couldn’t get the full pattern pieces out of what was left), so it was good value.

You can see the difference in fit with the proper neckline and sleeves in the french seams – it looks more like what I was expecting to see first time round. The sleeves are tight on my arms but otherwise the fit is good – less oversized than my broderie anglais one (although I love the fit of that – so comfy!). If I make another, I’ll probably lengthen the grown on sleeves so they’re a bit looser.

Overall – I still really love this pattern and I’m sure I’ll make more Maya tops! But for now I’m intending to give it a rest and experiment more with other patterns, now that I’m comfortable with this pattern.

Marilla Walker Maya top

Hello! I’ve been in a bit of a sewing rut as I have been tackling a dress that has been driving me mad (not the fault of the pattern at all – I had to do some hacking to fix some accidental literal hacking, and now I am going rogue to try and fix it).

So for the #sewingweekender over on Instagram, I sewed up a pattern I’d not made before but had high hopes for – the Marilla Walker Maya top. I’m loving loose, boxy woven tops at the moment – there is something glorious about pulling clothes in with no zips and buttons. I had some embroidered anglais from Dalston Mill Fabrics that I’d been planning a woven tee with, so it seemed a perfect combo.

The Maya pattern is super versatile and can be a range of tops or dresses – I’m curious to try the button up dress version another time. Instructions are clear and easy to follow, although I didn’t quite understand the sleeve facing and mine aren’t perfect!

Marilla Walker Maya top, RTW trousers

The fabric I used had interesting pyramid detail embroidery, which I chose to invert on the pocket as a design feature.

It is a really nice fit – boxy and loose enough to pull on and be comfy, but not totally shapeless.

I had to tweak the neckline at the back. As I was putting together my pattern pieces I realised that my front piece had a flaw in the embroidery and it wasn’t possible to cover it with the pocket due to location. Since the back and front pieces of the tee are almost identical (the back neckline is a smidge higher), I swapped them around and lowered the back neckline. This did mean that my facing then didn’t fit, so I had to adjust that too, meaning my neck facing is very narrow now, but I made it work.

Back view with lowered neckline

I think I might try to reduce it at the front neckline – it looks to me like it might be slightly too big in the shoulders, although I’m not totally sure – it could also be the effect of having taken fabric out of that back neckline.

I think it will be perfect to wear in summer with some loose trousers and skirts. I’m sure it won’t be my last Maya – indeed, I’ve got some absolutely mad fabric that I think is begging to be a woven boxy top – as it is a very quick and simple pattern, but has nice features.

Lessons learned so far

A few days ago I was thinking about fabric and sewing patterns, placing some orders, and it had me reflect on themes that have emerged so far.

1. Colours and prints – I’ve gravitated towards vibrant colours and prints consistently so far. Interestingly, they’re a really small part of my RTW wardrobe. I’d say in the last year I was buying more bright prints, but I’m almost exclusively buying printed fabric and beautiful colours like mustard, tobacco, rust etc. Is this a reflection on the limitations of RTW plus size fashion, or are new themes and tastes emerging as I sew (or both)?

2. RTW style vs sewn style. A large part of my RTW wardrobe is jersey fit and flare dresses. Interestingly, that’s not something I want to sew. I have some patterns and fabric, I’ve got a few makes in mind – but I’m not excited about them. I’m heavily favouring wovens and loose boxy shapes that don’t require fastenings – which is really interesting as I’m wanting to make the sort of stuff I’d never think to try on in shops. I think a large part of this is that I knew jersey fit and flares were a flattering option, didn’t have fit issues because of the knit fabric, and could be dressed up or down. They’re also abundant in RTW plus size fashion. But I’m really enjoying seeing my tastes deviate from those, and potentially to having a wardrobe that doesn’t feature many of them.

3. Jeans. Historically, I heavily favour dresses over trousers. If I wear trousers they’re usually jeans or a loose cotton in mad patterns. But the last 6 months or so, I’d definitely started wearing jeans more. So far though, I have zero desire to sew them – this isn’t because I love my RTW pairs (I don’t, they’re what I could find in RTW that I didn’t hate) and I don’t think it is even necessarily influenced by the weather – I think I’m just not very excited by them as garments, even if they are a necessary part of my wardrobe.

4. Embellishment. I naturally tend to avoid embellishment on RTW clothing, whether beading, trim, sequins, embroidery etc. I’m quite picky and I’ve always gone for “plain” clothing in that sense. And yet my most recent mad purchasing spree has been for embellishments – for iron on embroidered patches, badges, etc.

5. I’ve also found that I’ve really enjoyed exploring fabrics and techniques from other cultures. For example, I’ve purchased some fabric that used to be a vintage kimono, but was unstitched and sold off in panels, and I hope to make this into a bomber jacket. I’ve also explored Ankara/African wax print fabric. I’m not totally decided on what I want to turn that into yet, but I love the bright colours and patterns. Likewise, venturing into sashiko has given me the idea to incorporate it into garments – in some cases as a decorative feature, but also potentially to use the base indigo fabric as the main fabric for a garment and embroider all over it. It has also been great to support independent businesses run by entrepreneurs from diverse backgrounds, which is especially important now more than ever. There has been some brilliant work on instagram by Pink Mimosa by Jacinta to put together a list of inclusice sewing resources, vendors etc – make sure to check it out, it is really valuable work!

Have you found that sewing has brought out new aspects of your style? Do you have any recommendations for independent businesses run by entrepreneurs from diverse backgrounds?

Sew House 7 Underwood

So at the outset, this is an incredibly quick sew. I cut the pattern out at about 12 noon and it was sewn up by 5.30pm. As a newbie who takes her time to do things, that’s pretty damn quick for me! I did pick view 2 with finish B (just folding over and seaming the raw edges, rather than inserting neck and arm bands), so there wasn’t a lot to do.

I had a hell of a journey with this one despite it being relatively quick. Early on something went wrong with the threading on my overlocker, so I went on the epic journey of learning how to rethread it. I also had a nightmare trying to find the right tensions; this is a polyester jersey and my machine was a lot pickier about it than it was with cotton jersey. Fast forward 90 minutes or so and I’d managed to rethread it – which was actually far less scary and difficult than everyone makes out – and was on my merry way again.

I tried hard not to stretch the fabric out, but it has stretched a bit at the neckline and arm holes. I’m not sure where I went wrong – I was careful not to pull on the fabric; maybe I need to try a different foot attachment?

I had a nightmare with the hem. As you can see in those photos, the hem stretched out, and you may be able to see that it was AWFUL. Very wavy and uneven. So much so that, after those photos, I hacked it off and rehemmed it. So my version is now a lot shorter, but I’m quite short (5’4″) so could get away with it.

New hem – a lot more consistent!

The sizing is also a bit off for me. I sewed this in a 20; the top half feels quite big – the shoulders are slipping – and I did debate cutting it in an 18. Thankfully I didn’t, as an 18 would not have fit my hips, which could really have done with a 22. This isn’t a fault with the pattern – I’m more pear shaped than standard pattern blocks tend to be, and one day I’ll embrace the exciting world of grading.

Overall, I’d give this a 3.5 – it isn’t terribly exciting, but it is quick and simple, and for me this sort of thing is a wardrobe staple as I live in them over summer. I’m sure I’ll make another – I have my eye on the maxi version as well as the tank top.

My first ever garment for me!

Today I made a Peppermint magazine peplum top by In the Folds – the pattern is free, and it’s a lovely one.

Complimented by a cheesy smile and wet hair – I was too excited to wait!

It’s a pattern for a woven top and includes making your own bias binding (something I hadn’t done before). It has a scoop front and v-neck back, although my v-neck was not very successful and it is something I need to practice, as I loved the design feature of the v-neck back. I couldn’t understand the instructions for that point – I suspect because I’m still learning how to follow patterns and what everything means.

My not quite v-neck back!

This was my first time doing gathers and making my own bias binding (and setting it in a v neck) – plus I decided to do French seams on the inside, so the guts would look nice, and I overlocked the seam on the gathers.

I’m not sure this is totally my style, although I’ll be rocking this top for sure as my first ever make (for me)! I’m imagining a pair of woven trousers with it (possibly the Muna and Broad Sculthorpe or Willandra).

I’m excited for my next garment – although it will likely be a t-shirt or something relatively simple, as I’m waiting on some printed patterns to arrive!

So lockdown changed all my plans…

Hello!

So in my last post, I set out my plans to start sewing once we moved flat. Well that went out the window with lockdown; we currently have no idea when we’re going to move. However, lockdown also meant that I had my sewing machine and overlocker sent up, so I could get started. Part of this was a desire to sew things for the NHS, and part was that I anticipated I would have a lot more time on my hands with which to sew.

So here is a visual summary of the last few months!

My first infinity scarf sewn in the round (before the ends were weaved in!)

Continue reading “So lockdown changed all my plans…”

New Year’s Resolution

Hello! One of my New Year’s Resolutions is to continue learning to sew. Specifically, I want to start sewing my own clothes so that I can have clothes which fit properly and are everything I want to wear.

Right now I don’t have my sewing machine in my flat as there isn’t space, so everything is on pause – but I’m hoping to move somewhere bigger soon and have a space I can use for sewing. Until then, you won’t see much from me (besides perhaps some knitting).

See you soon, I hope!